Christmas Classics - Salt Dough Ornaments
/
We’ve all hit a bit of pandemic craft fatigue. I’m sure I’m not the only one that will scream if she sees another uncapped marker or remnants of a craft long forgotten drying to surface of the kids table.
That being said, you are probably asking yourself WTH is she doing suggesting salt dough ornaments?!?! Just hear me out for a second. This is not, I repeat, not a terribly messy craft. It is easily contained (in the first part) to the kitchen. Second, it’s cheap to make just salt, flour, and water, and things can add up around the holidays, especially if you have a lot of family or if your kid is like mine and wants to give gifts to all of his friends. Third, and my personal favorite, it takes up AT LEAST 2-3 “crafting days” depending on your kid’s attention span
Day (1) Making the dough, cutting out the shapes, and baking them.
Day 2: Painting the ornaments and letting them dry
Day 3: decorating the ornaments with glitter, glue, sequins, pom-poms … whatever fun things you have laying around
So without further ado, here’s our recipe for Salt Dough Ornaments and for 3 days of your kid being occupied. You’re welcome.
Ingredients
2 cups all-purpose flour (NOT self rising) **
1 cup salt
1 cup water
Directions
In a large mixing bowl, stir together the flour and salt
Gradually add water while stirring and mixing to form a Play-Doh like consistency - make sure it is not sticky. it will take too long to dry out and will not form correctly.
Form the dough into a ball and knead, adding a bit more flour if the dough is too sticky or a bit more water if it’s too dry.
On a very well floured surface, roll dough out to 1/4″ thick. Cut out ornament shapes using various cookie cutters.
Transfer ornaments to cookie sheets lined with parchment and poke a small hole in each using a toothpick or straw. Make hole large enough for an ornament hook or ribbon.
Take the remaining scraps and kneed into another ball and repeat steps 4-5 until you are done.
Take a straw and poke a hole near the top of each ornament shape before baking so that you can string with ribbon for hanging.
Place in oven preheated to 200 Degrees.
Bake for approximately 2 hours, making sure to flip the ornaments at the hour mark.
You know they are ready when the dough has no shiny spots and is not soft. Bake times will vary. Do not let them get golden like cookies, you are looking for hardness not that they look good enough to eat!
Let them cool completely before decorating.
** You can use GF flour for this (I would suggest KA Measure for Measure GF Flour or another similar cup for cup replacement)

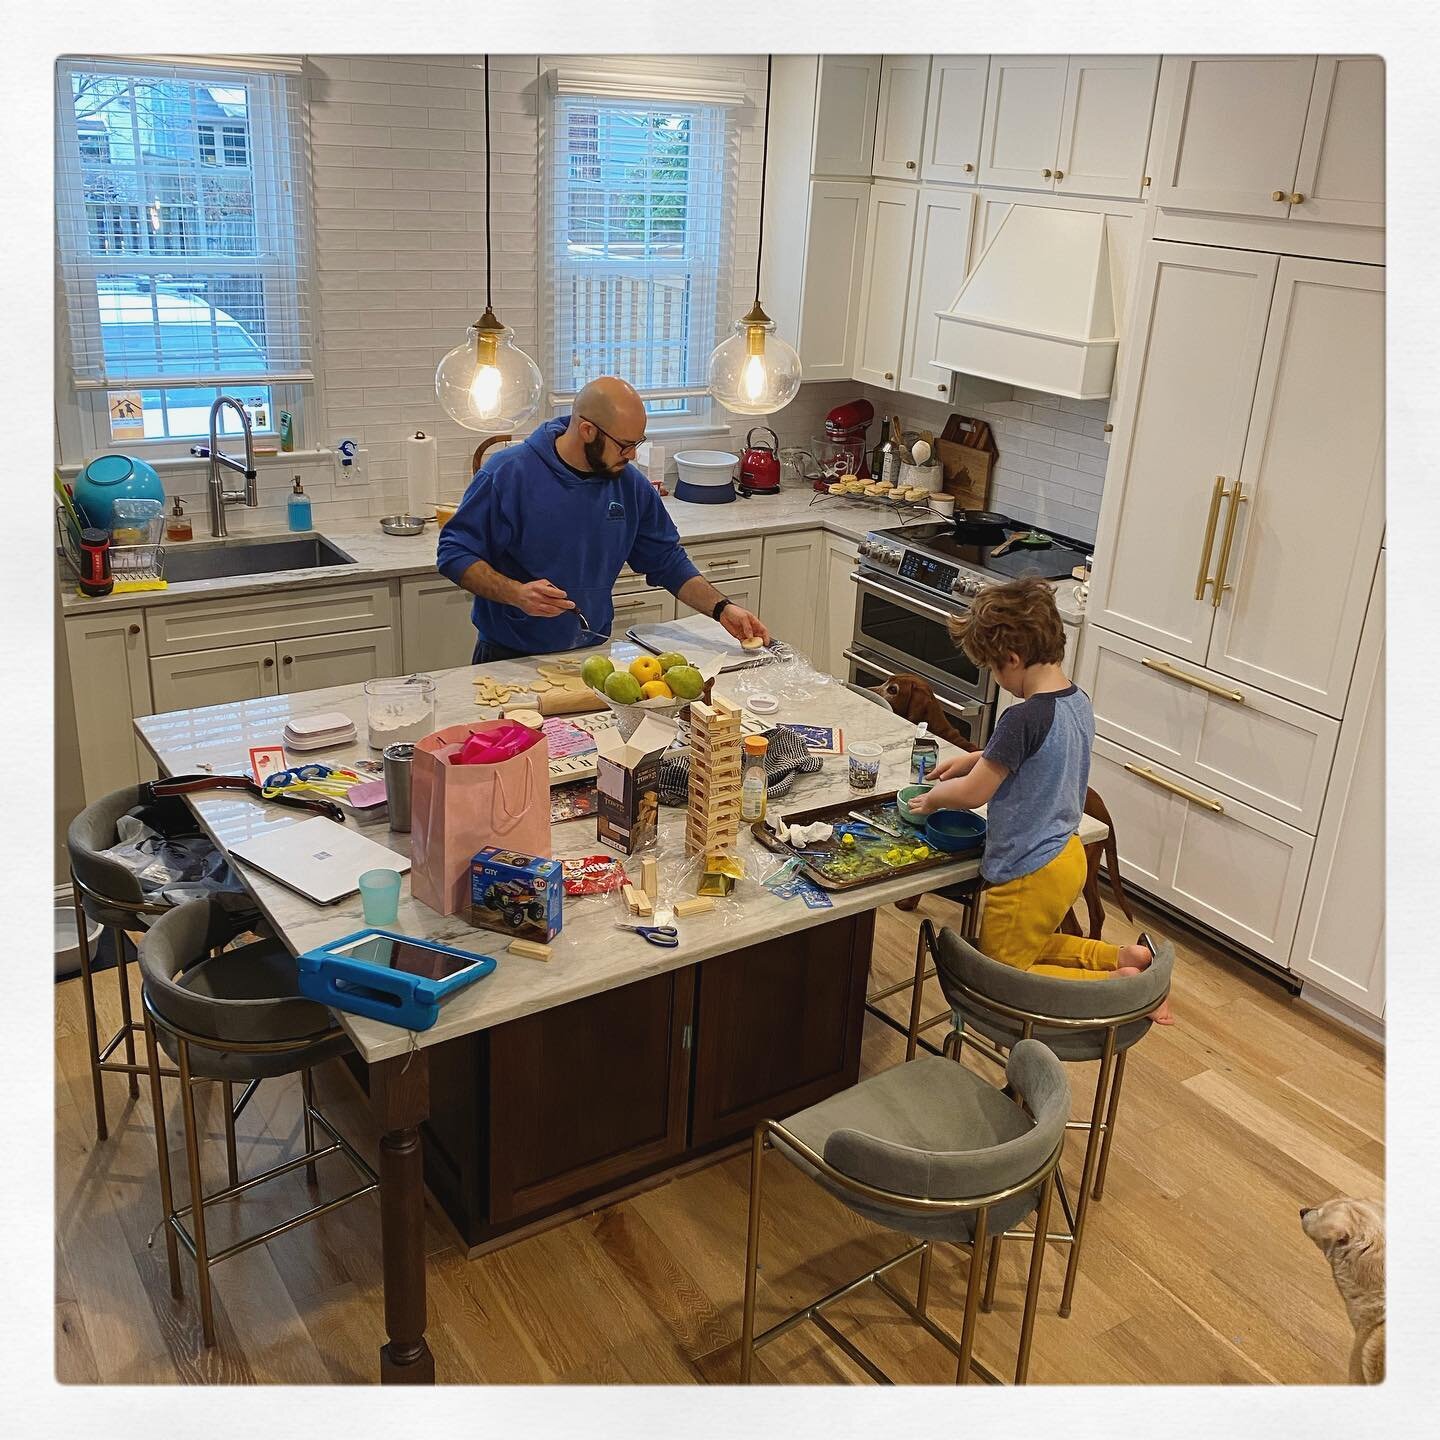
** kid tip - I gave T his own little ball of dough and his own rolling pin. He went to town with his little section while I handled rolling the big one.
T made Christmas trees with sequins and “fluffy balls” and ginger bread men decorated with ric-rac and googley eye. I then sealed them all with spray polyurethane to keep them shiny and (I hope) keep some of the decorations on them longer.
We had a blast making these and will be handing them out to family, friends, and teachers this holiday season. Don’t forget to sign the back with your name and the year so your friends can always remember when they received this adorable gift!
Tag me when you make your own adorable Christmas goodies, I love seeing the fun come to life!